Such, at first glance, is a simple job, like masonry of tiles with your own hands, in fact, has many subtleties and nuances. Professional tiles know all the secrets of this work, but they are reluctant to share them. Today you will learn some of them and you can put the tiles no worse than experienced craftsmen. You can find out more interesting things on Fugu Сasino.
Learning to put tiles with your own hands – prepare the base
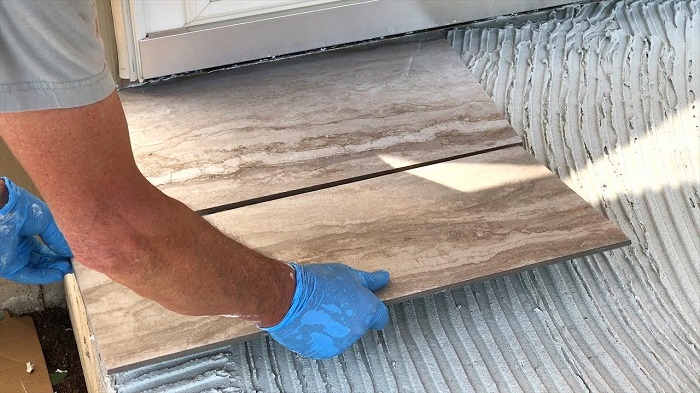
The video shows a system of quick alignment of tiles
So, the first stage of preparation for laying tiles is the alignment of the surface. Both the walls and the floor should be even and as smooth as possible, otherwise the tile will lie unevenly, and the work will deliver a lot of trouble to the master. However, some finishes pass this stage, and level the floor with tile glue. However, with large differences, this is fraught with an excess of glue.
You can start work only after absolutely complete drying out the aligned surface. All dirt and dust are necessarily removed using a vacuum cleaner. Then, if we are talking about laying tiles on the floor, you can make a marking – mark the middle of the room by drawing two central lines between opposite walls. You can also make a “fitting” tile, decomposing in the same order in which it will be laid. This will make it possible to finally determine the styling pattern and find out how much material will have to be cut.
However, if you make repairs in a residential apartment with a certain amount of furniture, which cannot be taken out, the tiles will have to be laid out from the corner of the room. The starting point should be the most noticeable angle – this is done so that cut tiles are hidden in the farthest corner.
If you spread the tile on the wall from the bottom, then you need to lay a wooden block on the floor, which will become a temporary support for the laid tile. Such a support should lie as smoothly as possible, otherwise the rows of tiles laid over it will not be strictly horizontal. If you put a kitchen apron, then as a support for a tile you need to use a profile for drywall, which is temporarily screwed to the wall at the lower row level.
What are the ways to lay tiles
Laying tiles in the bathroom – video
What can be the options for laying tiles? In fact, there are only three of them:
In a run;
diagonally;
seam in the seam.
In the first case, the material is laid so that the seams ultimately form a net with the same squares (or rectangles, depending on the shape of the material). When laying “in a run”, each subsequent row shifts relative to the previous half of the sequest, that is, the picture is exactly the same as the brickwork. And, finally, a diagonal method in which, as the name understands, the rows of tiles are placed not horizontally, but diagonally.
The easiest way to lay the “seam to seam” tiles, so if you work with tiles for the first time, it is worth stopping on it precisely.
Sometimes it happens that the combination of colors that seem beautiful and interesting, on the walls or floor it does not look the best. That is why, before deciding on tiles, it is worth creating a model of your premises in any graphic editor and “try on” tiles on it. However, in many stores today there are special stands on which the tiles well combined with each other are laid out. Therefore, if you are not sure of your design skills, you can dwell on the finished solution.
But there is still one universal advice: do not choose the tile of “acidic” shades, since it will very quickly begin to annoy even the largest lover of bright colors. If you certainly want something very bright, you can make separate inserts from a brightly colored tile or lay out a multi-colored panel. However, in this case, it is desirable that the main color of the walls is as calm as possible.
Modern tile styling technology
Now let’s talk about how to put the tiles correctly, complementing the story with a video video. In addition to the tile, we need tile glue, crosses, rubber kiyanka, level, simple and gear spatula, grouting mixture and rubber spatula. Apply the divorced glue to the tiles with a simple spatula and level it with gear, after which we apply the fragment to the floor and slightly press. We do the same and other tiles, not forgetting to put crosses between them.
After you have laid several tiles, check the accuracy of their laying using the level and, as needed, tap it with a kiyanka. The last tile in the row, if necessary, must be cut. When all the material is laid, you can start grouting the seams. Wiping the seams no earlier than one day after the end of the work
We hope that now with your own hands are laying tiles – a video story about work you will find on our website – it will not seem to you something difficult. And who knows, maybe after a while and you will become a professional master, to whom all friends and acquaintances will turn to the advice.